
Steps in the XXL-DLP Printing Process
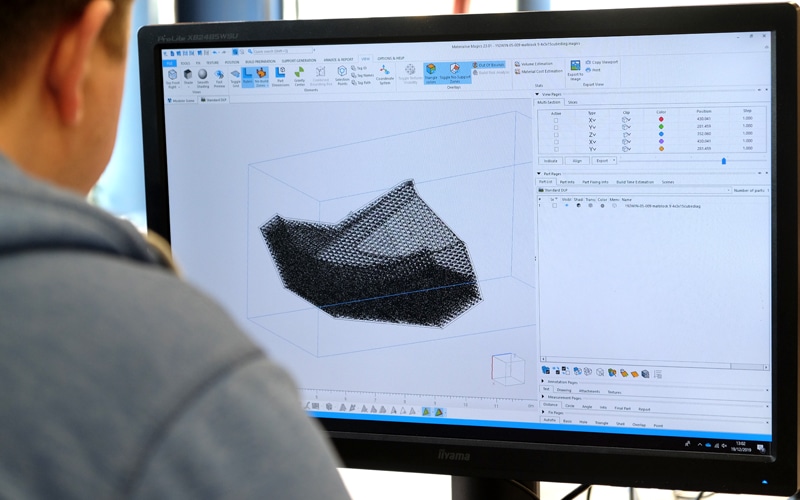
Job Preparation
Starting with a 3D model, a printable mesh is created. The part is modified for printing and oriented on the platform.
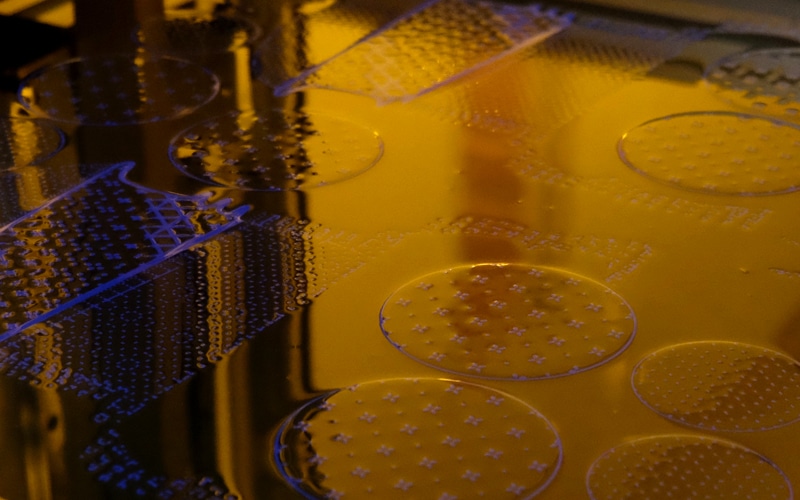
Printing
The print is loaded and runs automatically. When the print is completed the platform rises and the parts receive a first inspection.
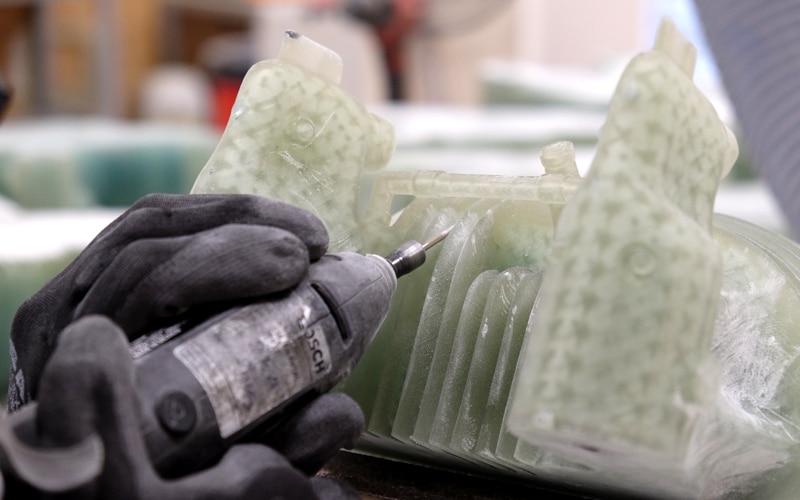
Cleaning & Supports
Most parts are printed on supports, this needs to be removed. Then the product is thoroughly cleaned, so no printing resin remains.
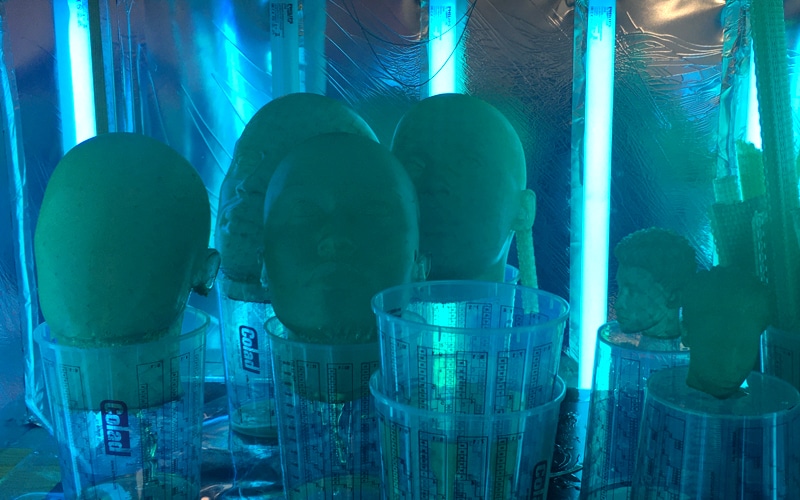
Post Curing
To ensure the final strength of the product is achieved, it receives a post curing step in our dedicated large curing ovens.
Why DLP?
In our printers, and in any vat polymerisation printer for that matter, liquid resins are converted into cured polymers. To make this reaction happening, a very localised source of energy is required; where this energy is applied the material solidifies and in all other regions the material remains liquid.
This energy is commonly UV-light with a wavelength between 365 and 405 nm. It depends on the composition of the resin at which wavelength optimal curing is achieved.
Traditionally, UV lasers have been used in Stereolithography (SLA) processes. This gives good results, but has significant drawbacks in terms of cost and production speeds achievable.
DLP is a solution to the drawbacks of SLA; the UV light is generated by ultra high power LED’s and projected on the complete surface, making the projection much faster at significantly lower cost.

Vertical movement
With the projectors correctly aligned and set at the right projection distance, the print platform is moved down after each projection. In most cases, this z-movement is 0.15mm.
With each layer the product “grows” and submerges further. When the print is complete, the part is raised and is ready for further steps.
DLP Projection
DLP projection was invented by Texas Instruments and is still developed and improved by them. It’s the golden standard in most projection systems.
The basis of a DLP projector is the digital micro mirror array; the DMD chip. This chip has a huge number of small mirrors that can be switched between two positions, consider them on and off.
When a black and white image is fed to the DMD controller, it decides for each pixel if it should be on or off. When the DMD is then hit with UV light, the “on” pixels are reflected to form the correct image on the resin surface.

Knowledge Area
Here we will post know-how articles related to technology